Vendor status
Once you have added a vendor, it will go through various stages. They are mentioned in the table below.
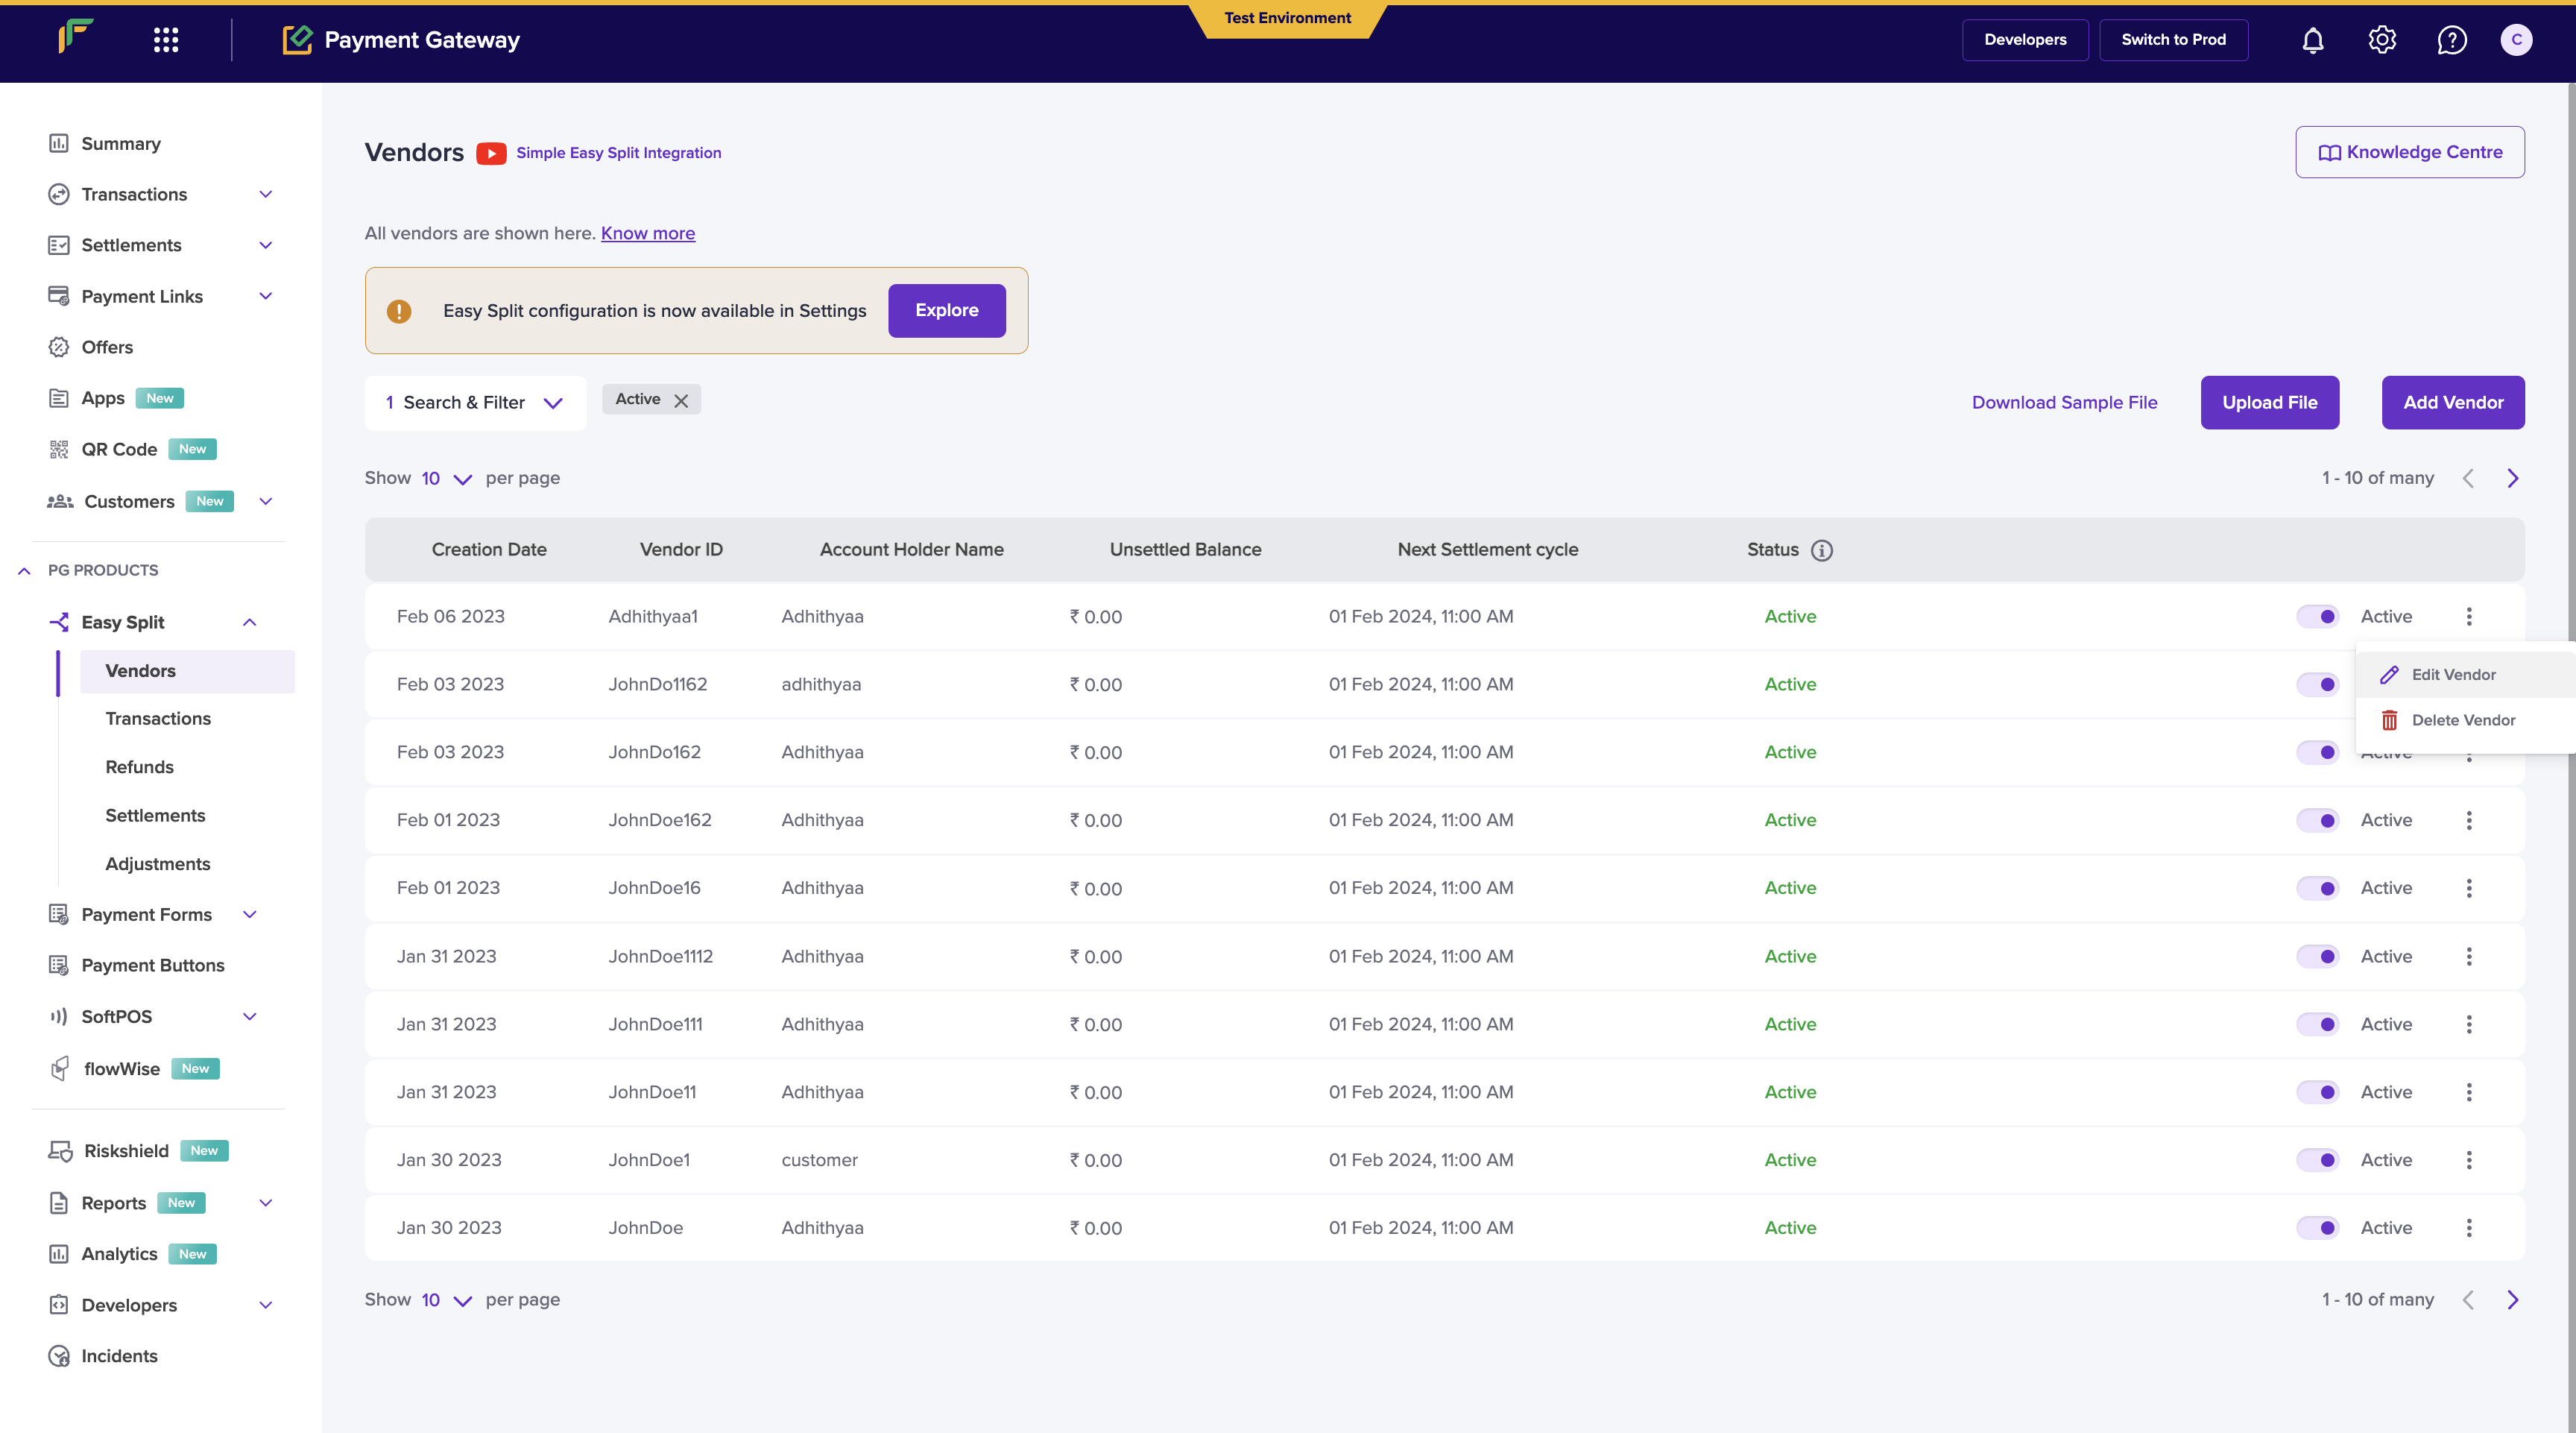
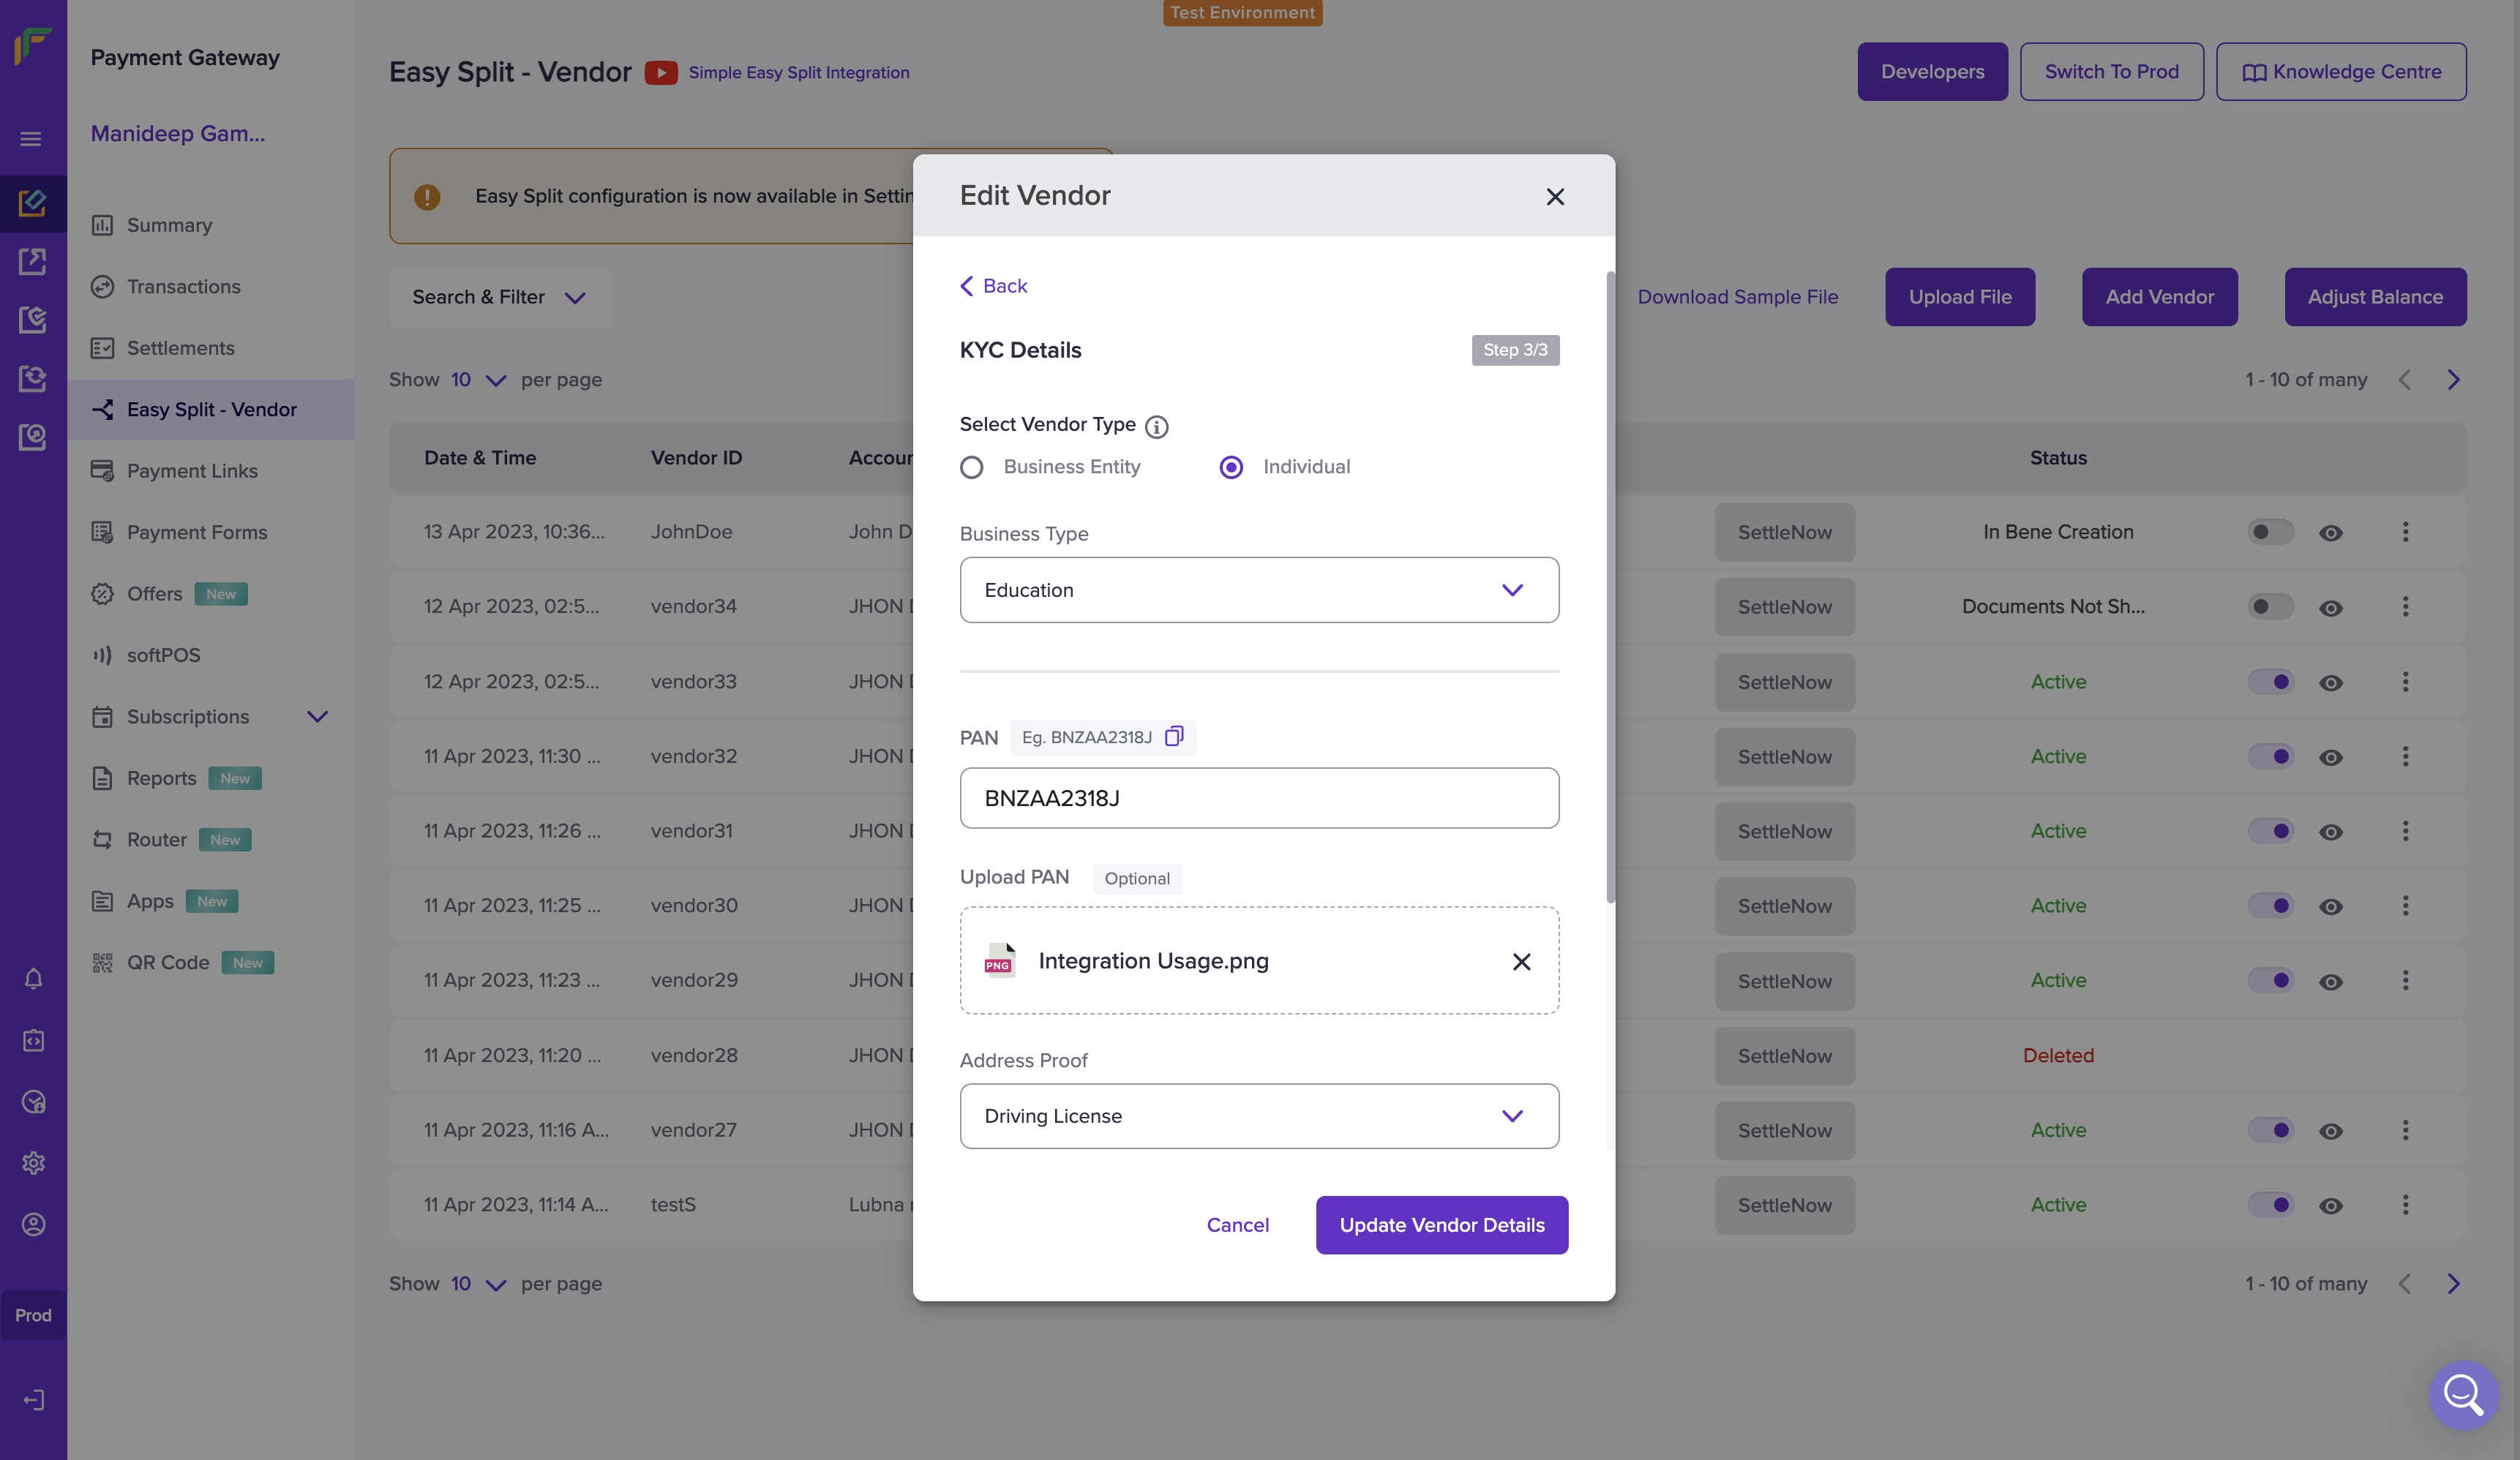
To edit the details of the vendor you have already added,
- Go to Payment Gateway Dashboard > Easy Split - Vendor.
- Click the ellipsis icon on the vendor you want to make changes to and select Edit Vendor.
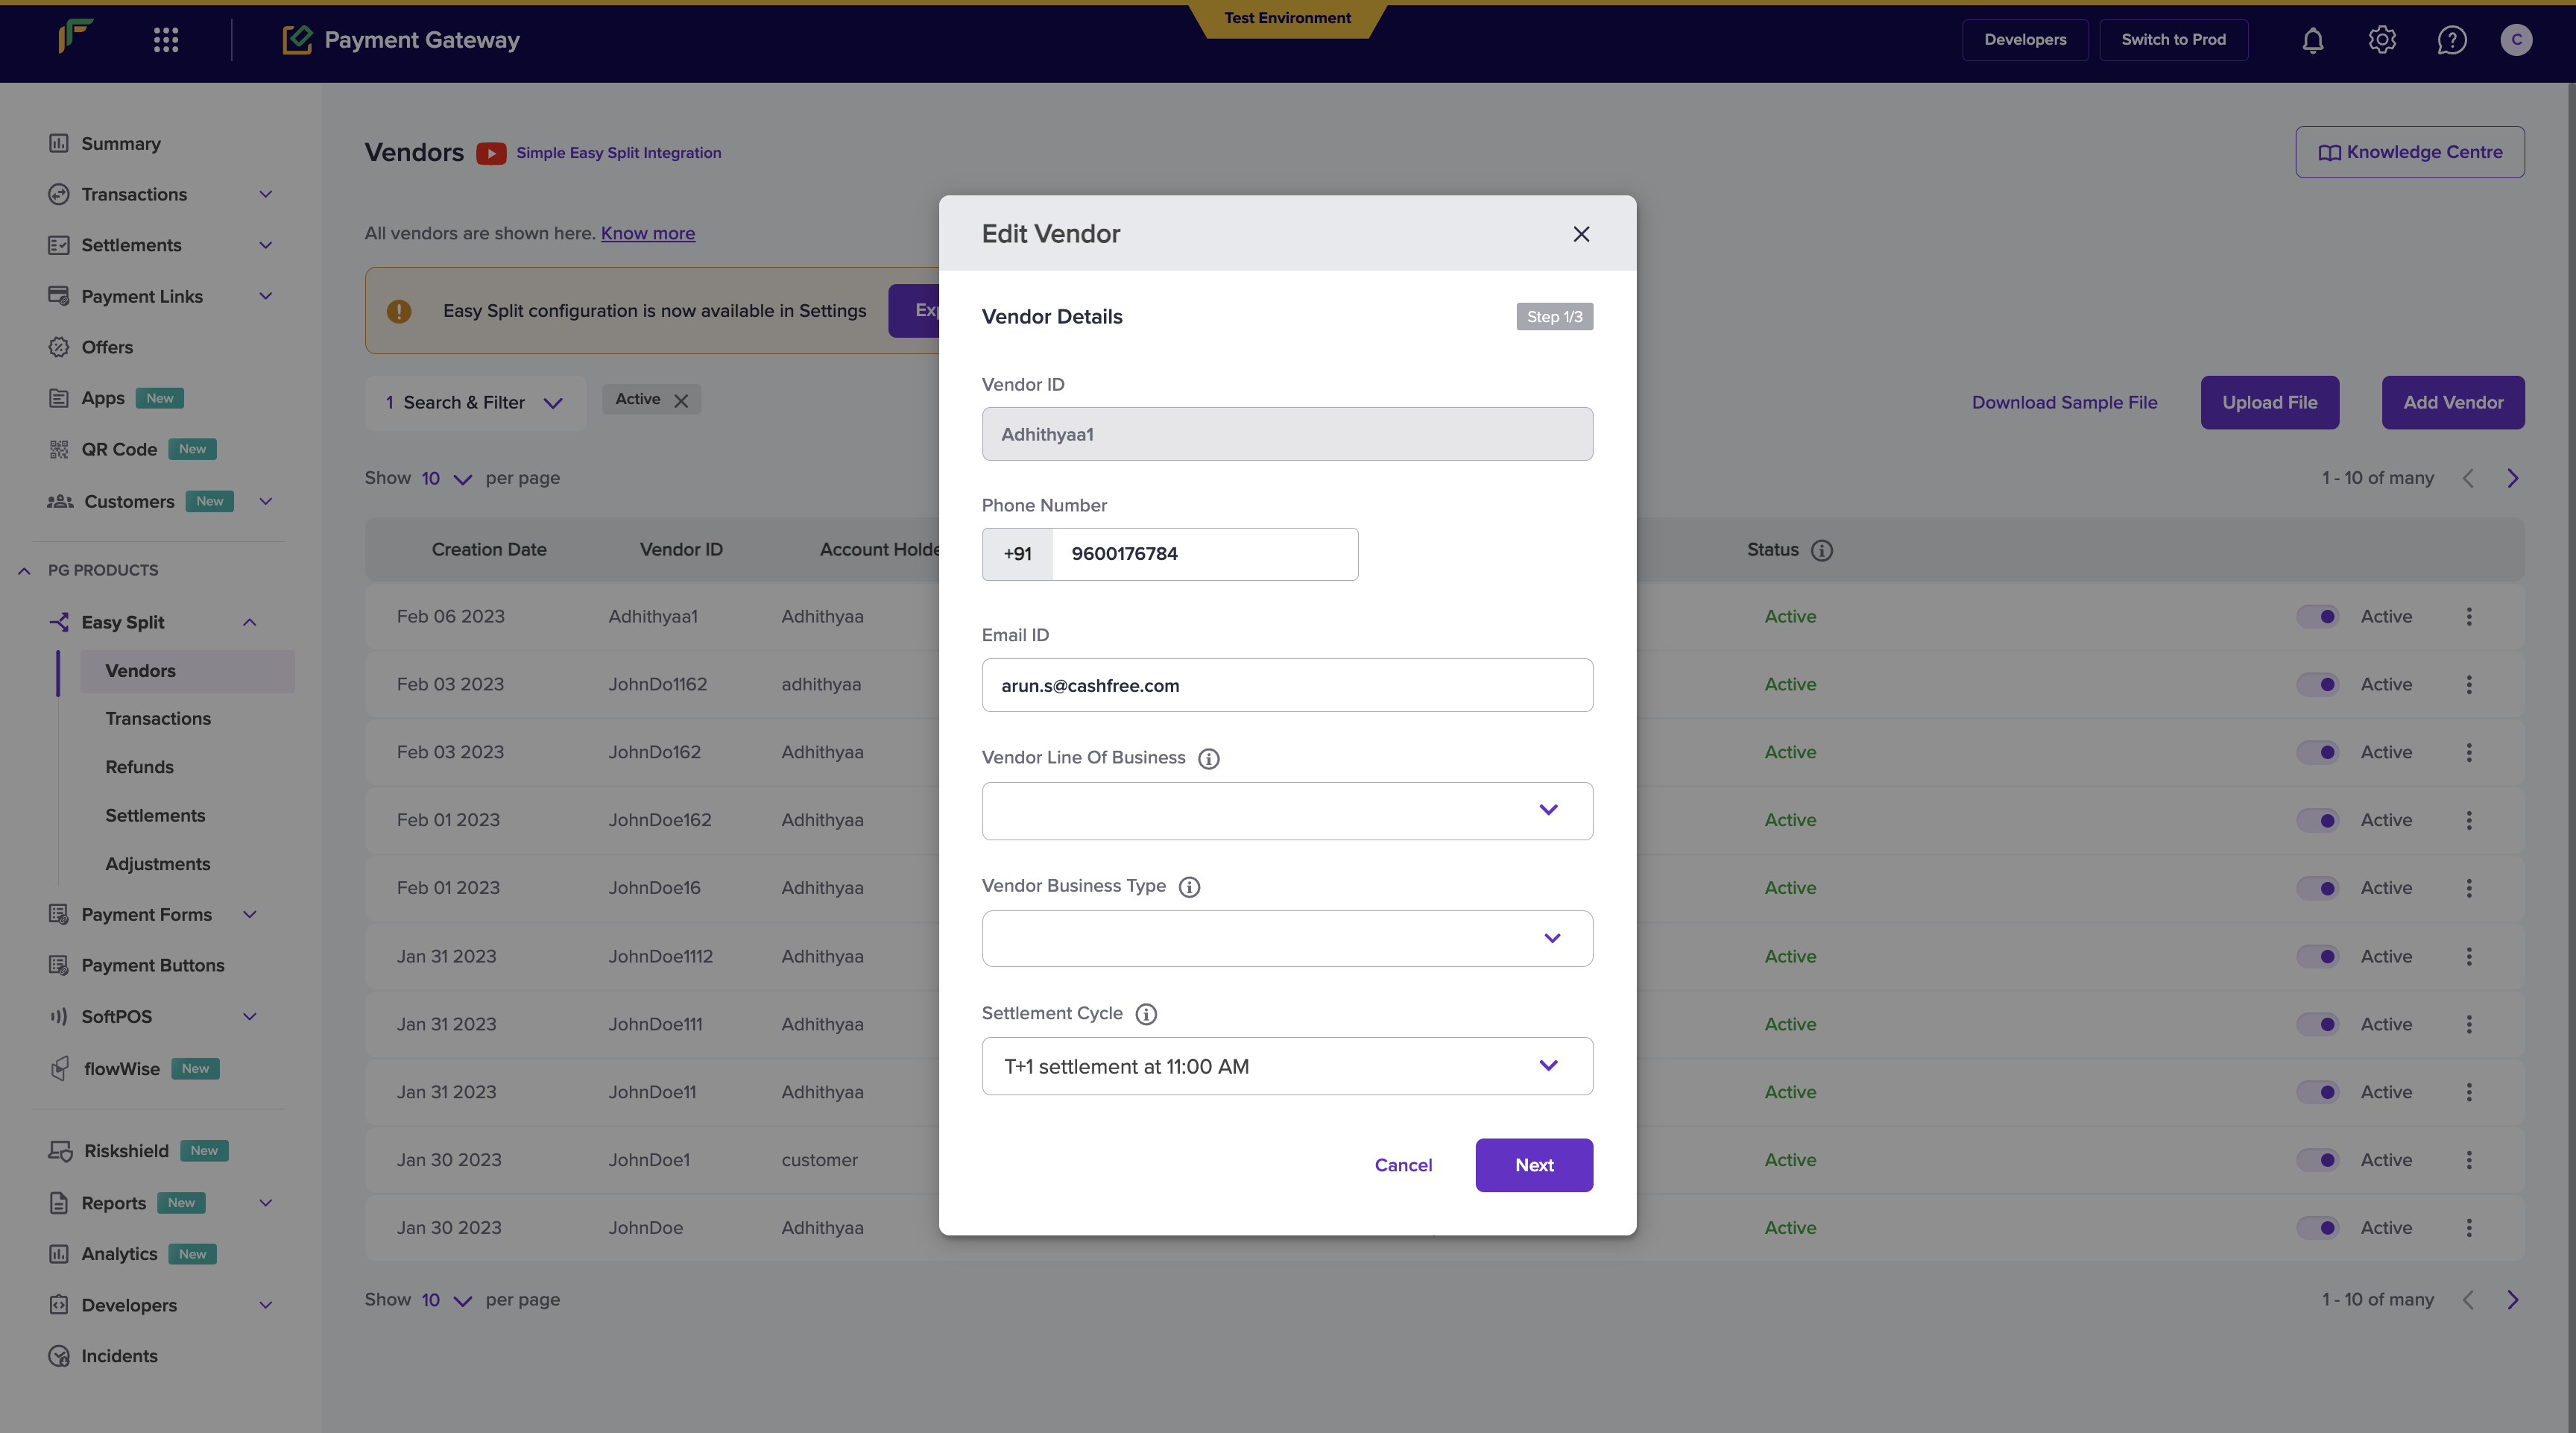
- Vendor phone number
- Vendor email ID
- Schedule Option
- Dashboard access
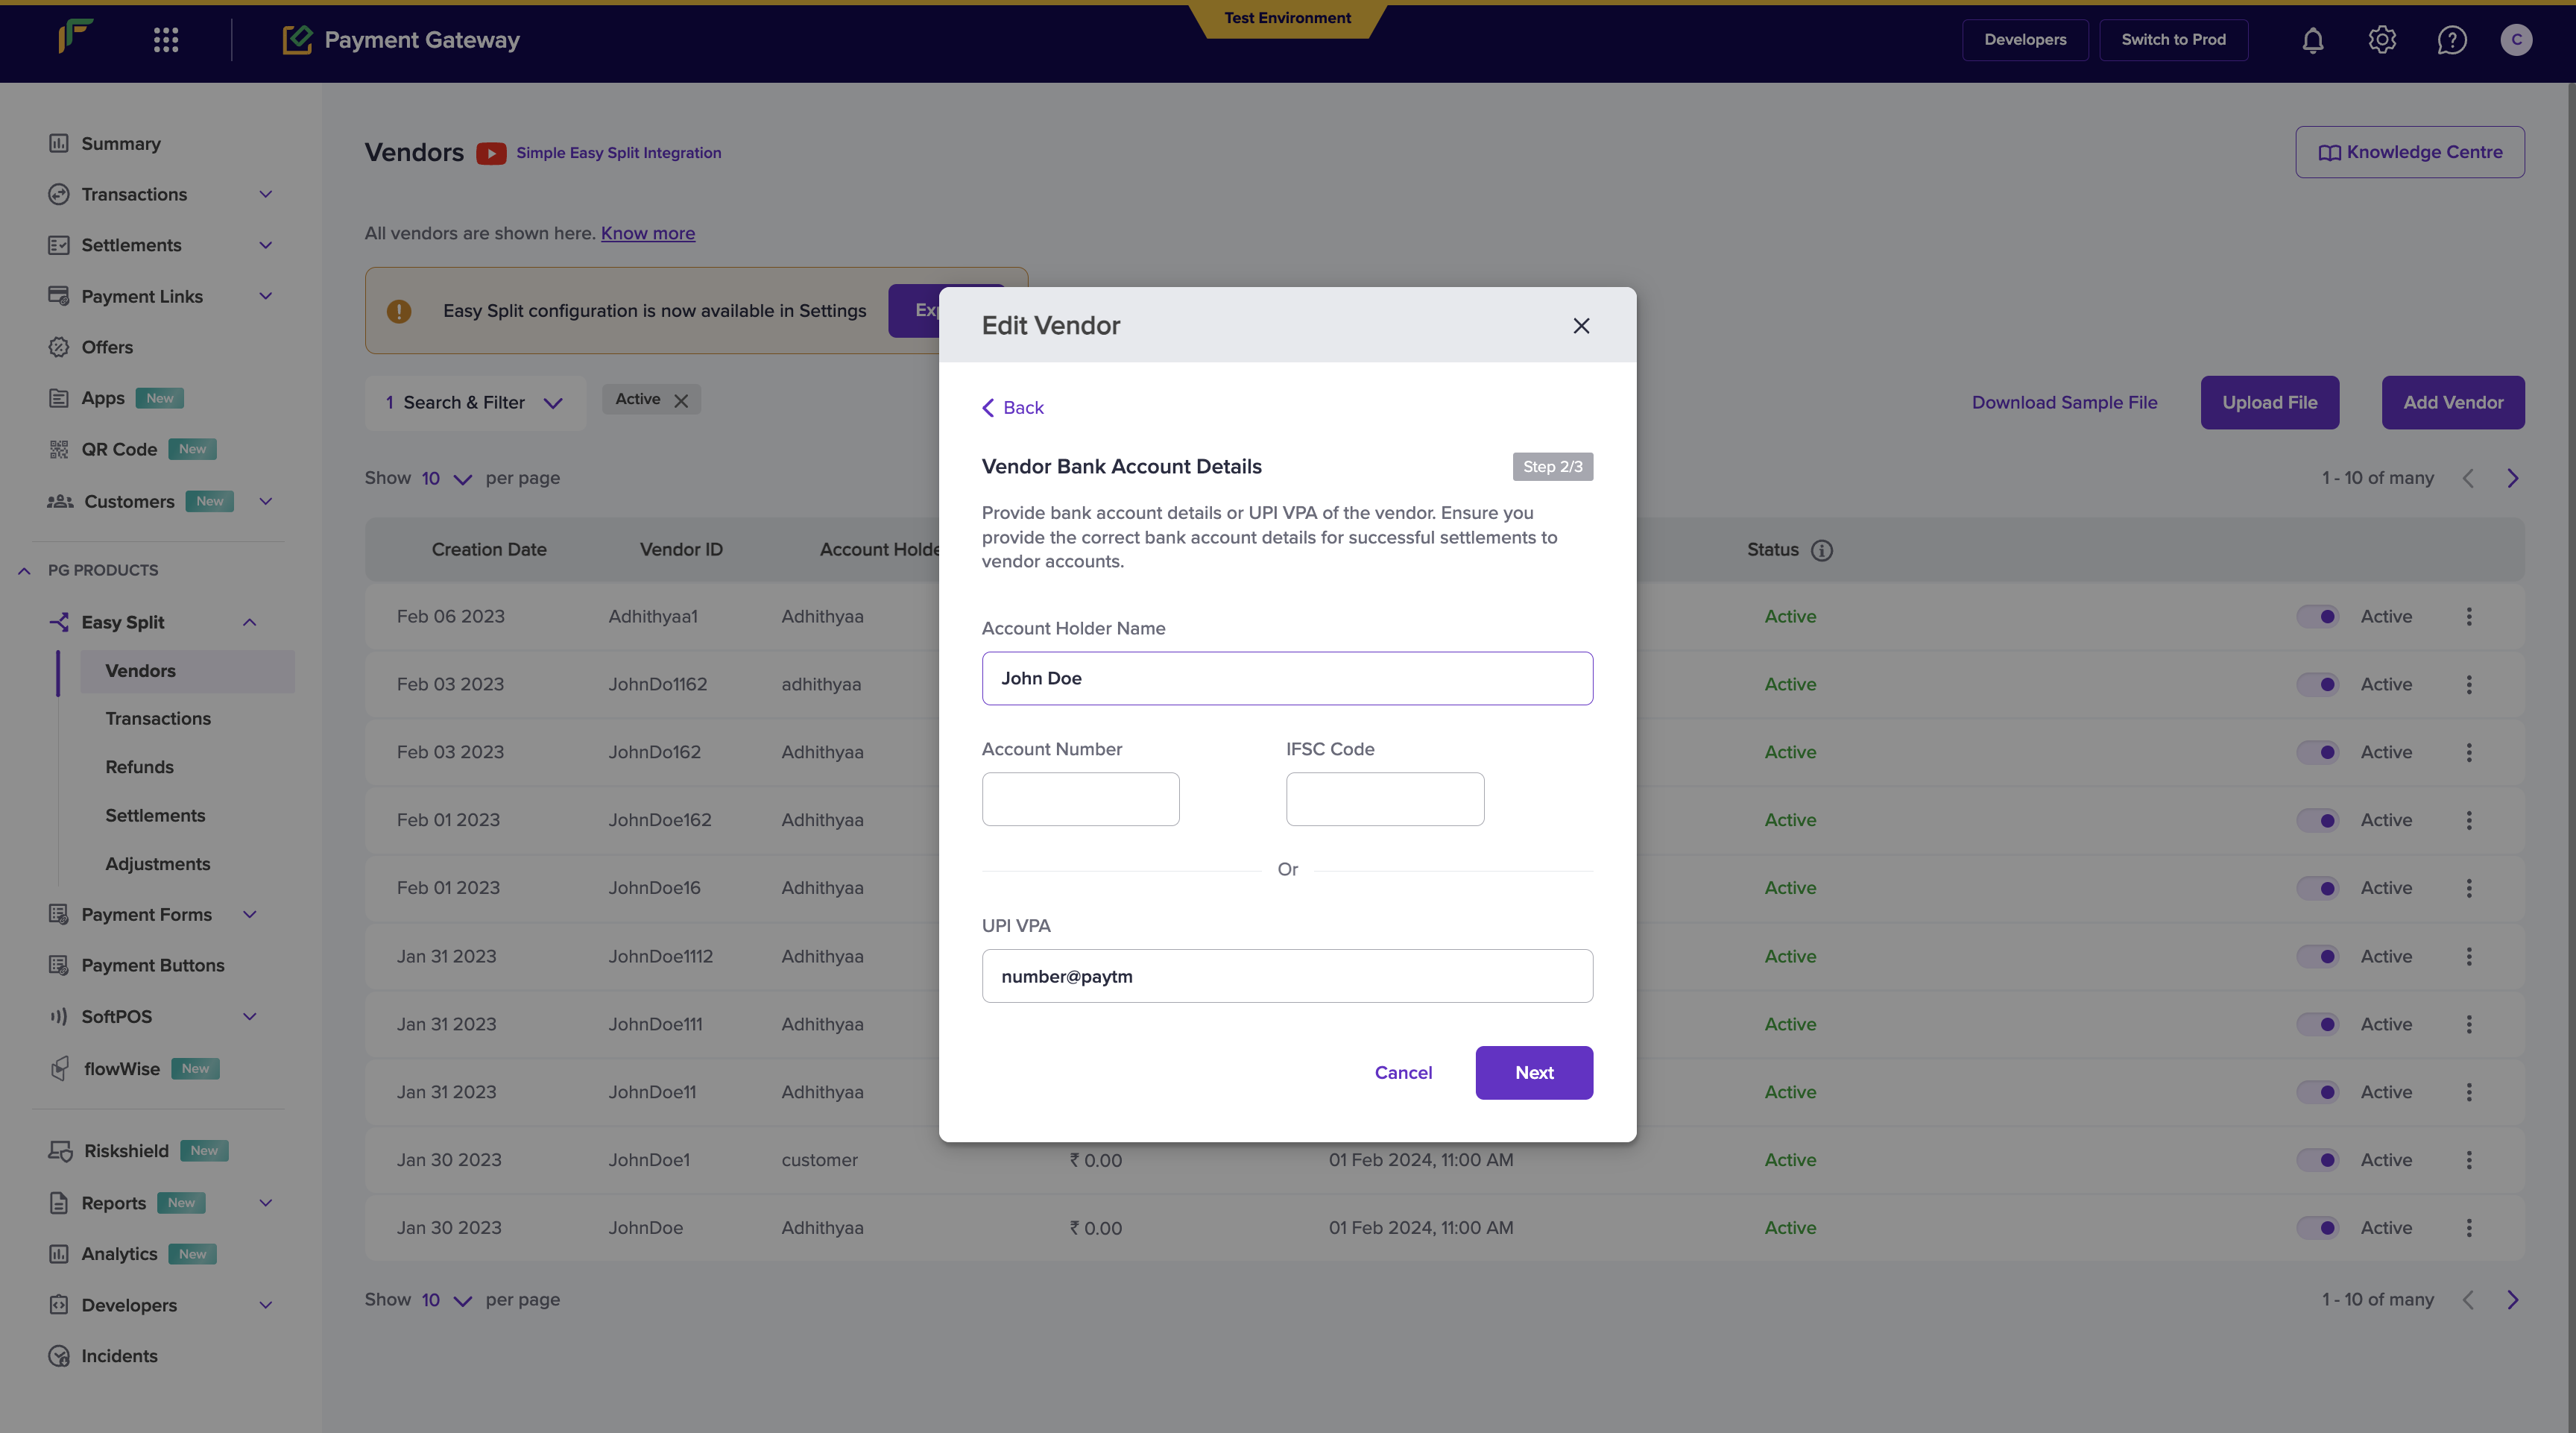
- Account holder name
- Account number
- IFSC code
- UPI VPA
- Verify account details option
- Vendor type
- Business type
- Documents (Based on the vendor type and business type of your vendors)
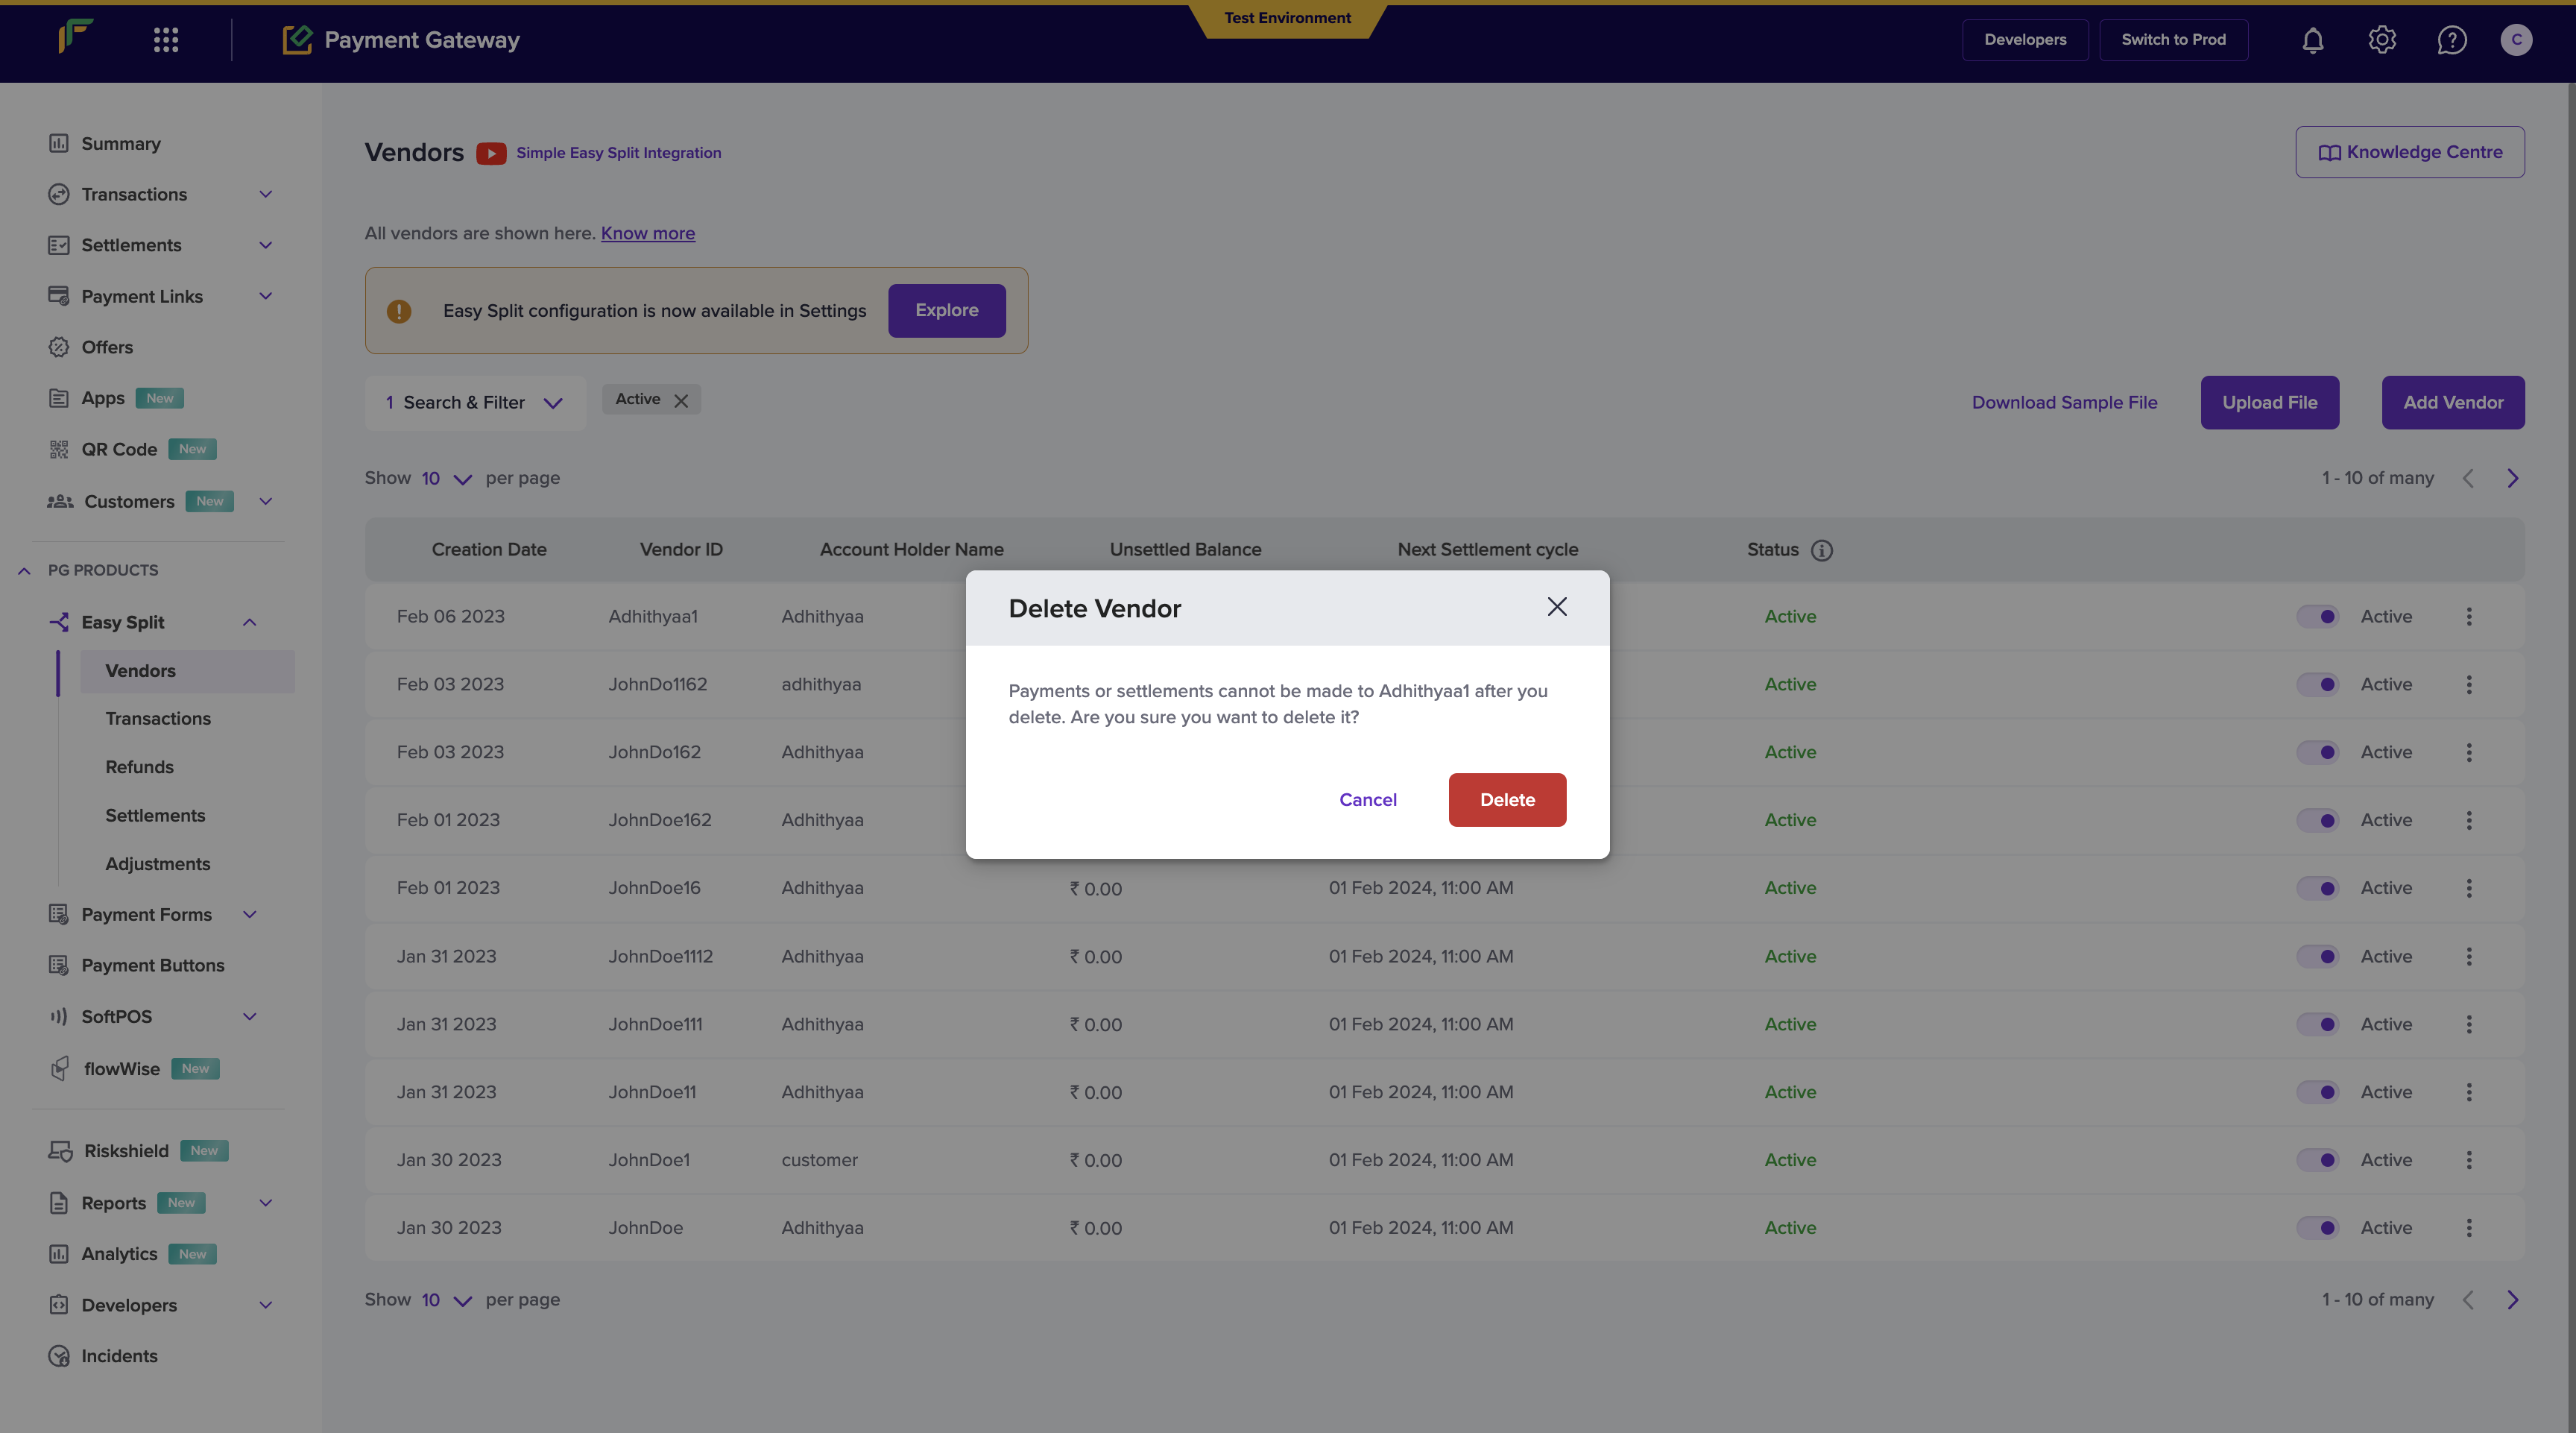
Delete vendor
You can delete the added vendors from the dashboard. Click the ellipsis icon on the vendor you want to delete, and select Delete Vendor. Click Delete in the pop-up window.